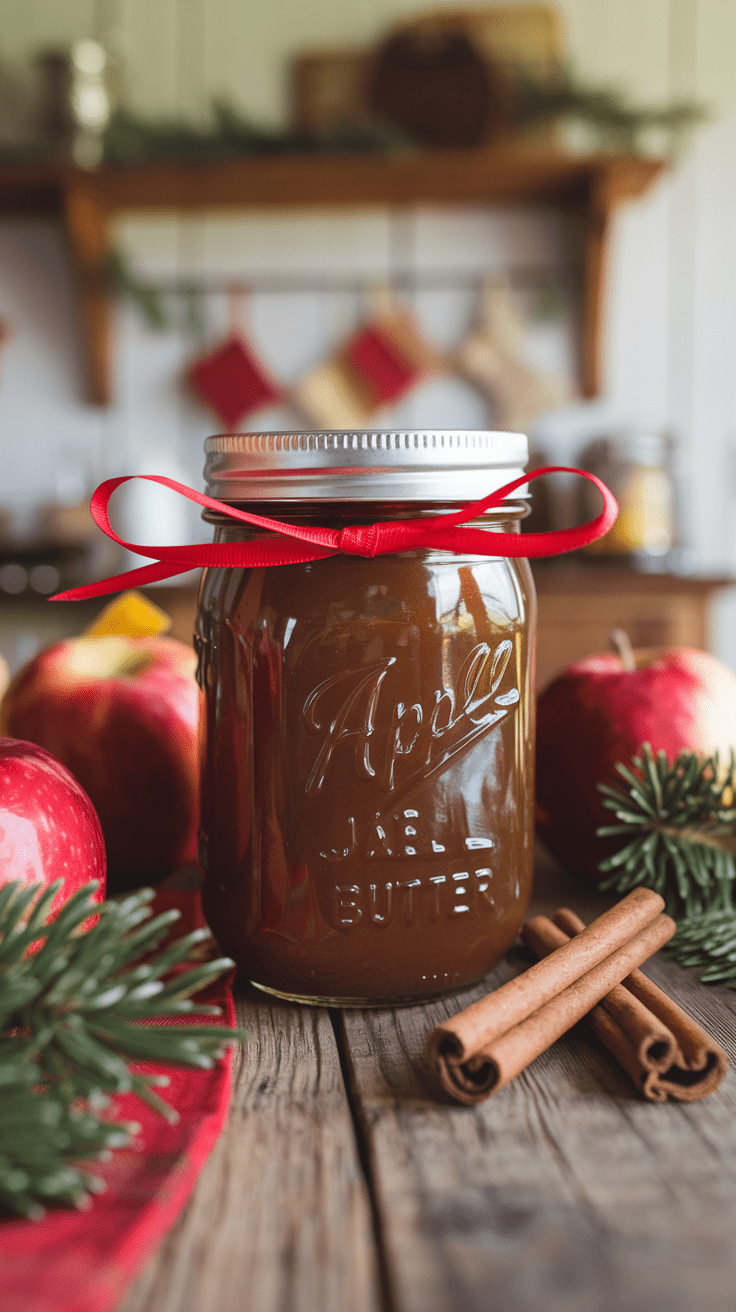
This easy, traditional apple butter recipe is a cozy classic that captures the essence of the holidays. Made with simple, organic ingredients, it’s naturally vegan and perfect for canning, gifting, or to enjoy with your family. Here are the top 3 Ways To Make Traditional Organic Apple Butter.

- 3 Ways To Make Traditional Organic Apple Butter
- Old Fashioned Organic Apple Butter Recipe
- How To Make Instant Pot Apple Butter Recipe
- Guide To Canning Apple Butter Safely
- Ways To Gift Homemade Apple Butter
- Packaging Ideas for Apple Butter Gifts
- What to Bundle with Apple Butter
- Gift Basket Ideas
- Additional Touches
3 Ways To Make Traditional Organic Apple Butter
Choosing the Best Ingredients
- Apples: Use fresh, organic apples in season for the best flavor and natural sweetness. Slightly bruised or imperfect apples are fine as long as they’re not spoiled.
- Find organic apple cider HERE.
- Spices: Opt for organic, high-quality spices to enhance the warm, cozy flavors.
- Find options linked here:
- Sweetener: Organic cane sugar is traditional, but coconut sugar can be substituted without any additional adjustments. Just note that coconut sugar adds a subtle molasses-like flavor, enhancing the warm spices in the apple butter.
Shelf Life of Apple Butter
- Canned: Up to 12 months when properly sealed and stored in a cool, dark place.
- Refrigerated: 2-3 weeks in an airtight container.
Best Jars for Storing Apple Butter
- Wide-Mouth Mason Jars: Easy to fill and clean, ideal for gifts.
- Quilted Glass Jars: Perfect for gifting, with a charming, vintage look.
- Mini Jars (4 oz.): Great for small portions or party favors.
Ways to Use Apple Butter
- On Toast or Biscuits: Spread on warm bread for a comforting breakfast.
- In Oatmeal or Yogurt: Stir into oatmeal or dollop onto non-dairy yogurt.
- As a Glaze: Use for roasted vegetables or vegan proteins like tofu.
- In Baking: Substitute for applesauce in muffins, cakes, or quick breads.
- On Pancakes or Waffles: Serve as a rich, fruity topping.
- Sandwich Spread: Pair with peanut butter for a delicious twist.
- Cheese Boards: A sweet complement to vegan cheeses or crackers.
The below recipe is for the stovetop and slowcooker method. The instant pot version can be found just below.
Old Fashioned Organic Apple Butter Recipe
Course: Holiday, Organic, CondimentCuisine: AmericanDifficulty: Easy40
servings20
minutes3
hours25
kcal3
hours30
minutesTimeless traditional apple butter recipe made organic and healthy.
Note: 1 serving = 1 tablespoon. Cooking time and total time will depend on which cooking method you use. This recipe makes enough to fill about 4-5 standard 8-ounce jars, which is perfect for gifts or small-batch preserving. See the bottom notes for more details.
Ingredients
5 pounds of organic apples (preferably Fuji, Gala, or Honeycrisp for sweetness; or a mix for depth of flavor)
1 cup organic cane sugar (adjust to taste based on apple sweetness). Or 1 cup of coconut sugar.
1 tablespoon organic cinnamon
1 teaspoon organic nutmeg
1 teaspoon organic allspice
½ teaspoon ground cloves (optional, for extra warmth)
1 tablespoon organic lemon juice (about 1/3 of a fresh lemon)
½ cup water or apple cider (optional, for stovetop and instant pot version)
Directions
- Prepare the apples. Wash and core the apples. (Peeling is optional—keeping the skins adds fiber and richness.) Cut apples into small chunks for faster cooking.
- Cook the apples.
Stovetop Method: Place apples and ½ cup water (or cider) in a large, heavy-bottomed pot over medium heat. Cover and simmer for 30-40 minutes, stirring occasionally, until apples are soft.
Slow Cooker Method: Place apples in a slow cooker. No water needed. Cook on low for 8-10 hours or high for 4-6 hours, stirring occasionally, until soft. - Blend the apples. Use an immersion blender or transfer apples to a blender/food processor. Blend until smooth.
- Add spices and sweeteners. Return blended apples to the pot or slow cooker. Add sugar, cinnamon, nutmeg, allspice, and cloves. Stir well.
- Reduce and thicken.
Stovetop Method: Simmer uncovered on low heat for 1-2 hours, stirring frequently, until the mixture is thickened and dark brown.
Slow Cooker Method: Cook uncovered on low for 1-2 hours, stirring occasionally, until thickened. - Can or store the apple butter.
For Canning: Sterilize jars and lids in boiling water. Pour hot apple butter into jars, leaving ¼ inch of headspace. Wipe rims clean, secure lids, and process in a boiling water bath for 10 minutes.
For Storing: Let cool, then transfer to clean, airtight jars. Refrigerate and use within 2-3 weeks.
Notes
- Servings: Approximately 40 servings (1 serving = 1 tablespoon). Total Weight: About 4-5 cups (roughly 32-40 ounces) of apple butter, depending on the apple variety and cooking method. Prep Time: 20 minutes (washing, coring, chopping apples). Cook Time. Stovetop: 2.5-3 hours total. Slow Cooker: 8-12 hours (depending on settings, low vs. high heat). Total Time. Stovetop: Approximately 3-3.5 hours. Slow Cooker: 8-12.5 hours.
- Nutritional Information (Per Tablespoon)
Calories: 25
Carbohydrates: 6g (mostly natural sugars)
Fiber: 0.5g
Fat: 0g
Protein: 0g
Sugar: 5g - Shelf Life. Canned: Up to 12 months when properly sealed and stored in a cool, dark place. Refrigerated: 2-3 weeks in an airtight container.
- Note: Nutritional values may vary slightly depending on the type of apples and sugar used.
How To Make Instant Pot Apple Butter Recipe
Using the Instant Pot significantly reduces the cooking time for apple butter while maintaining its rich, traditional flavor. Here’s how to adapt the recipe:
Ingredients
- 5 pounds organic apples (Fuji, Gala, Honeycrisp, or a mix)
- ½ cup organic cane sugar (adjust to taste)
- 1 tablespoon organic cinnamon
- 1 teaspoon organic nutmeg
- 1 teaspoon organic allspice
- ½ teaspoon ground cloves (optional)
- 1 tablespoon organic lemon juice
- ½ cup water or apple cider
Instructions
1. Prepare the Apples
- Wash, core, and chop apples. (Peeling is optional.)
2. Cook the Apples in the Instant Pot
- Place apples, water (or cider), and lemon juice in the Instant Pot.
- Lock the lid, set the valve to “Sealing,” and select the Manual/Pressure Cook setting. Cook on high pressure for 15 minutes.
- Allow the pressure to release naturally for 10 minutes, then carefully perform a quick release.
3. Blend the Apples
- Use an immersion blender directly in the Instant Pot or transfer apples to a blender. Blend until smooth.
4. Reduce and Thicken
- Return the pureed apples to the Instant Pot.
- Stir in sugar, cinnamon, nutmeg, allspice, and cloves.
- Select the Saute function, set it to low, and cook uncovered for 20-30 minutes, stirring frequently, until thickened to your desired consistency.
Tips for Instant Pot Apple Butter
- Prevent Splattering: Use a splatter screen or lightly cover with the Instant Pot lid during the sauté step.
- Taste and Adjust: Add more sugar or spices during the sauté phase to suit your preference.
- Monitor Consistency: The apple butter will thicken further as it cools, so avoid over-reducing.
Canning or Storing
- Canning: Follow the same canning instructions as the stovetop method, processing in a boiling water bath for 10 minutes.
- Refrigerating: Store in clean jars and refrigerate for up to 2-3 weeks.
Using the Instant Pot can cut hours off the traditional process while still producing the rich, spiced apple butter you love. Perfect for busy home cooks or last-minute gifts!
Guide To Canning Apple Butter Safely
Canning apple butter ensures it can be stored for up to a year in a pantry without refrigeration. Here’s a detailed guide for beginners:
Supplies You’ll Need
- Mason jars (preferably 8-ounce or 16-ounce jars with new lids and bands)
- Large pot or water bath canner
- Jar lifter and funnel, or get a kit HERE.
- Clean towels
- Wooden or plastic spatula
Step-by-Step Canning Instructions
1. Sterilize the Jars
- Wash jars, lids, and bands with hot, soapy water. Rinse well.
- Sterilize jars by boiling them in water for 10 minutes or running them through a dishwasher’s sterilization cycle. Keep jars hot to prevent cracking when filled with hot apple butter.
2. Heat the Lids
- Place the flat lids in a small saucepan with hot (not boiling) water. This softens the rubber seal.
3. Prepare the Apple Butter
- Ensure the apple butter is hot and at the desired consistency. If it’s too thick, add a small amount of water or apple cider to loosen it slightly.
4. Fill the Jars
- Using a funnel, carefully ladle the hot apple butter into the hot jars, leaving ¼-inch headspace at the top.
- Remove air bubbles by running a wooden or plastic spatula along the inside of the jar.
- Wipe the rim of each jar with a clean, damp cloth to ensure a good seal.
- Center the lid on the jar and screw the band on until fingertip-tight (not overly tight).
5. Process the Jars in a Water Bath
- Fill your canning pot with water and bring it to a gentle boil. The water level should be high enough to cover the jars by at least 1 inch.
- Place jars on a rack inside the pot using a jar lifter. Ensure jars are not touching each other.
- Process jars in boiling water for 10 minutes (adjust for altitude if needed):
- 1,000-3,000 feet: Add 5 minutes.
- 3,001-6,000 feet: Add 10 minutes.
- Above 6,000 feet: Add 15 minutes.
6. Cool and Check the Seals
- Remove jars with a jar lifter and place them on a clean towel. Let them cool undisturbed for 12-24 hours.
- Check the seals by pressing the center of each lid. If it doesn’t pop back, the jar is sealed. If it pops, refrigerate and use within 2-3 weeks.
Storage and Shelf Life
- Properly sealed jars can be stored in a cool, dark pantry for up to 1 year.
- Once opened, refrigerate and use within 2-3 weeks.
Pro Tips
- Always use new lids to ensure proper sealing. Bands can be reused if in good condition.
- Keep your work area and tools clean to avoid contamination.
- If any jar doesn’t seal properly, don’t reprocess it—refrigerate it and use it soon.
Ways To Gift Homemade Apple Butter
Packaging Ideas for Apple Butter Gifts
- Decorative Jars
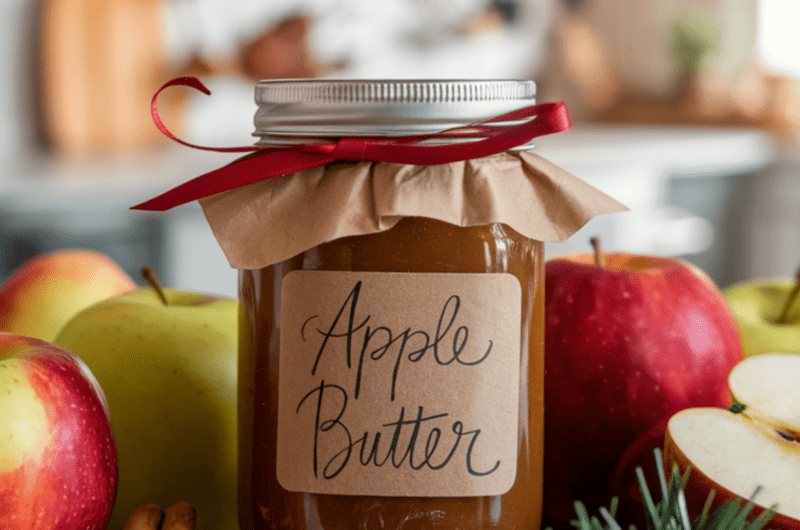
- Add Fabric Covers: Cut from scraps or use seasonal fabric squares and secure them over the lid with twine or ribbon.
- Label It: Use printable or physical dissolvable labels for a polished look. Handwrite or print the name of the apple butter, the date it was made, and optional instructions (e.g., “Refrigerate after opening”).
- Wax Seals: Add a wax seal to the lid for a charming, old-fashioned touch.
- Twine and Tags
- Wrap the jar with christmas twine, regular twine, or ribbon and attach a small kraft paper tag. Write a short note like “Made with Love” or a Bible verse.
- Add Seasonal Embellishments
- Tie on a cinnamon stick, sprig of rosemary, or mini pinecone for a festive feel.
- Include dried orange slices for a rustic, holiday-themed look.
- Change up the lids with a DIY color
- Spray paint your lids to add a different look if you’re giving to multiple recipients. Here’s some ideas:
What to Bundle with Apple Butter
- Homemade Bread or Biscuits: A rustic pairing that feels thoughtful and cozy.
- Wooden Spreader Knife: Adds a charming, practical touch.
- Variety Pack of Tea: Add tea to go perfectly with an apple butter + bread snack.
- Handwritten Recipe Card: Share the recipe on a handwritten card if they want to make this recipe again in the future.
Gift Basket Ideas
A gift basket featuring apple butter can be as simple or elaborate as you’d like. Here are some curated ideas:
- Cozy Breakfast Basket
- A jar of apple butter
- Homemade biscuits or a mix
- A small jar of locally sourced honey
- A tea towel with a farmhouse or holiday design
- A wooden spreader or butter knife
- Fall-Themed Gift Basket
- Apple butter jar(s)
- A small bag of spiced nuts or granola
- A soy candle with a fall scent (e.g., apple cider, pumpkin spice)
- A bundle of cinnamon sticks or diffuser oils
- Old-Fashioned Kitchen Basket
- Apple butter jar(s)
- A mini cast-iron skillet or rolling pin
- A jar of homemade jam or spice blend
- A vintage-style tea towel or apron
- Holiday Hostess Basket
- Apple butter jar(s)
- A bottle of sparkling cider or mulled wine
- A loaf of fresh sourdough or artisan bread
- A handwritten thank-you card
Additional Touches
- Basket Liners: Use shredded kraft paper or seasonal fabric to line the basket.
- Shrink Wrap: Secure everything neatly and tie it with a large ribbon or bow.
- Custom Tags: Attach a tag with serving suggestions, a Bible verse, or a personal note for a heartfelt touch.


